License Manager Advanced – Admin User Guide
This guide walks you through the complete setup and daily use of the License Manager Advanced module for WHMCS.
It covers installation, file management, product configuration, license generation, sync, and the verification API.
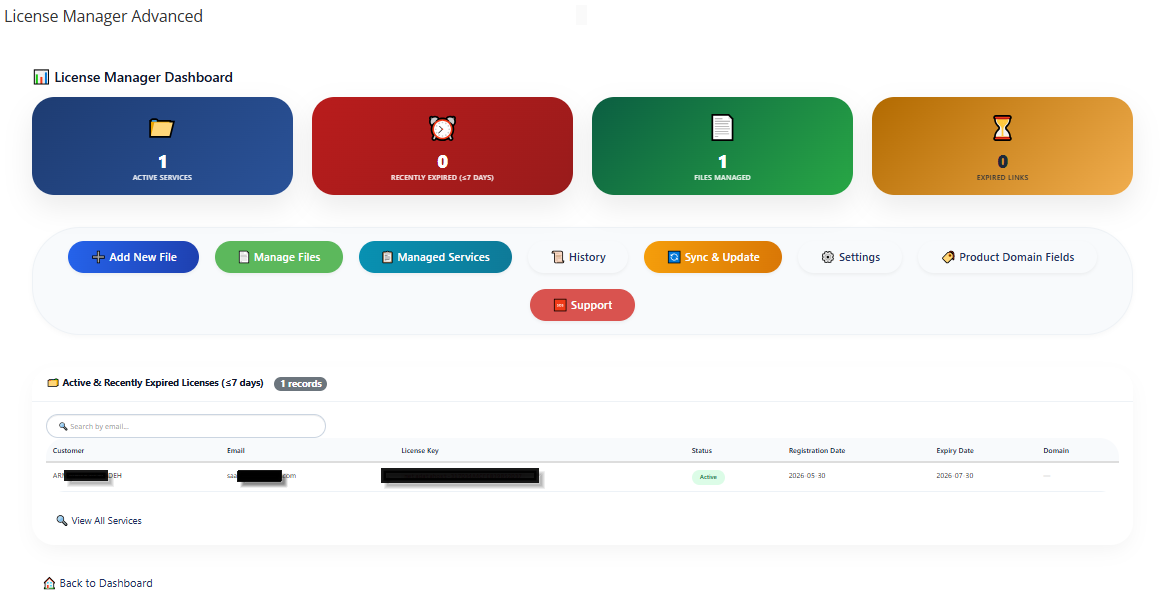
Table of Contents
- Installation
- Initial Activation & Database Setup
- Adding Files to the Repository
- Configuring a Product to Use License Manager
- Managing Licenses (Services)
- 5.1 Viewing Active Licenses
- 5.2 Editing a License
- 5.3 Manual Override Mode
- 5.4 Allowing Multiple Modules (Shared License)
- Installation
- Upload the folder LicenseManagerAdmin to /modules/addons/ in your WHMCS installation.
- Go to WHMCS Admin → System Settings → Addon Modules.
- Locate License Manager Advanced and click Activate.
- Set appropriate admin permissions (usually “Full Administrator”).
- Initial Activation & Database Setup
When you activate the module, it automatically creates all required database tables (mod_licensemanager_services, mod_licensemanager_files, mod_licensemanager_verification, etc.).
No further action is needed – the module is ready.
- Adding Files to the Repository
Files (e.g., software zip packages) are stored on your server. You need to tell the module where each file is located.
- In the admin sidebar, go to Addons → License Manager Advanced.
- Click on
- Configuring a Product to Use License Manager
Each product that should sell licenses needs two configuration options:
- Go to System Settings → Products/Services → Edit your product.
- Switch to the Module Settings tab.
- Set Module Name to LicenseManager.
- In the Module Settings section below, fill:
- ConfigOption1 – ID of the file you want to attach (you can find the ID in the file list).
- ConfigOption2 – Default download link expiry in days (0 = never).
- Save the product.
Now, when a customer orders this product, a license key will be automatically generated and a download link created.
- Managing Licenses (Services)
All licenses are stored in the Managed Services section.
5.1 Viewing Active Licenses
Click
- Sync & Auto‑Creation of Licenses
The module automatically creates a license when an order is placed (hook AfterShoppingCartCheckout).
However, for existing services or manual sync, use the Sync & Update button:
- Click